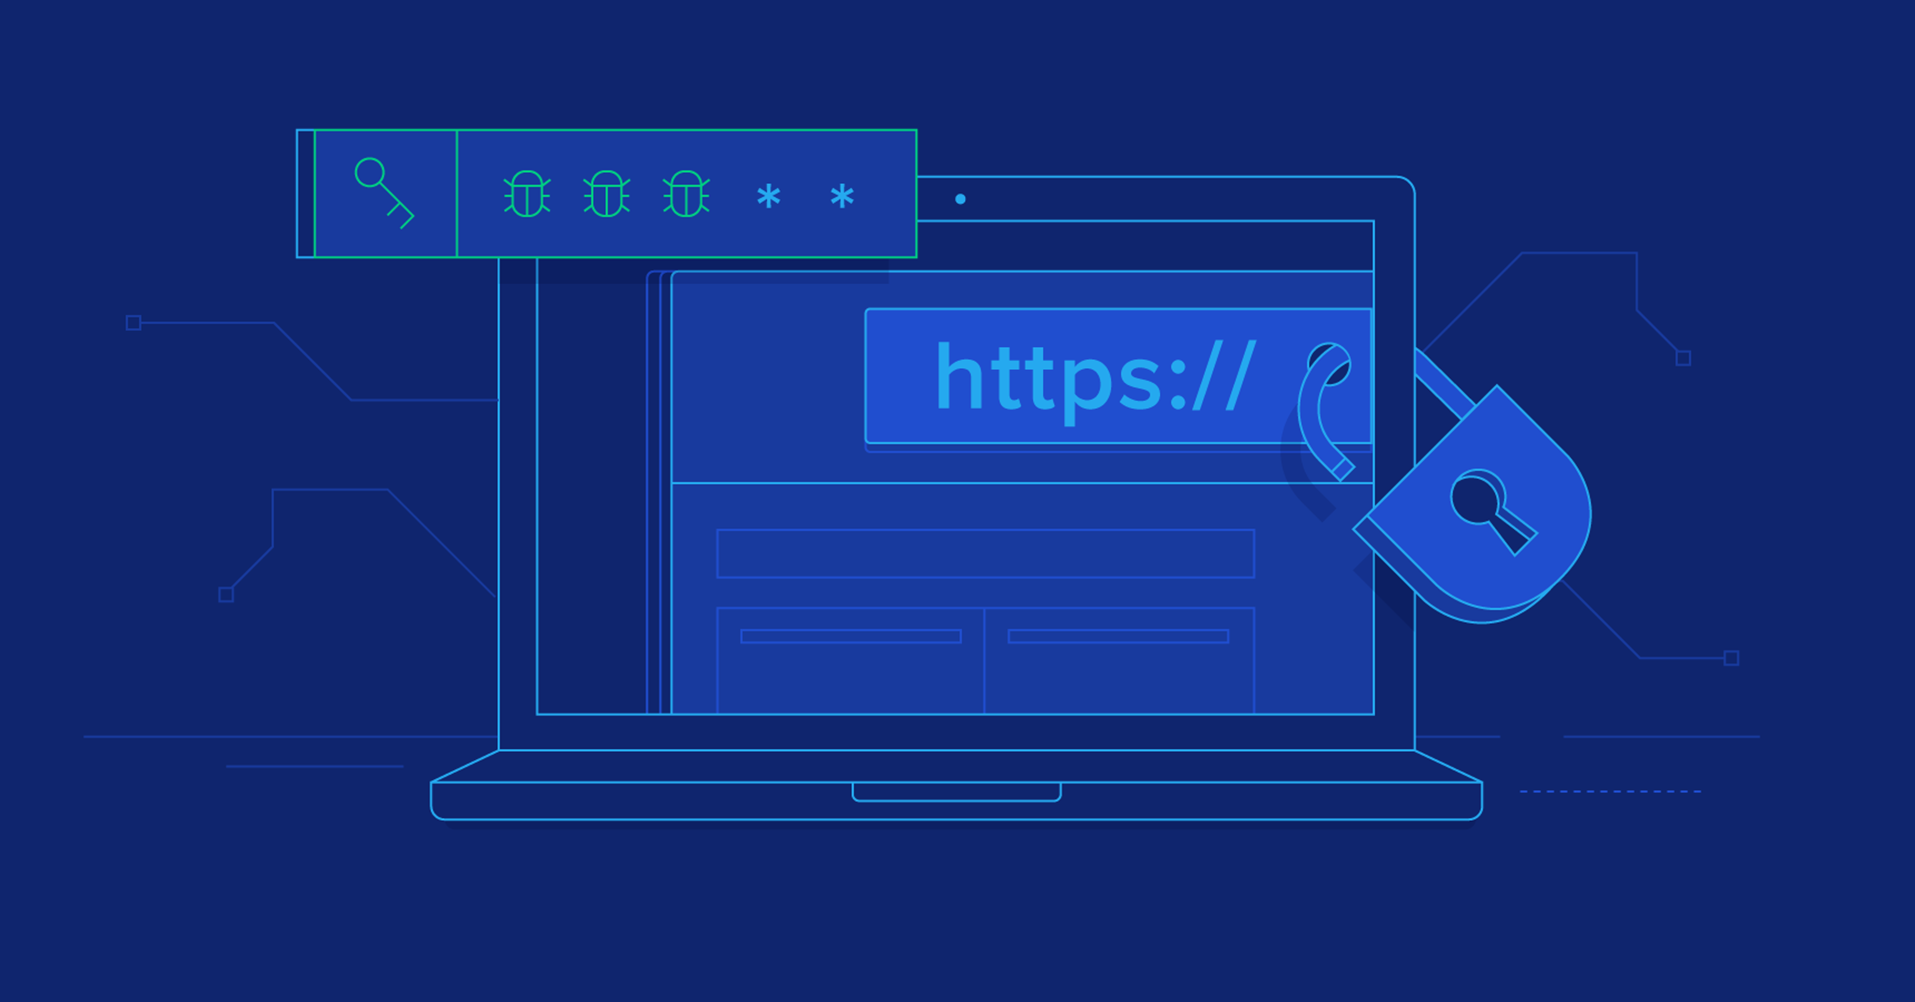
The website is the main channel of interaction with customers. Therefore, having a secure website not only ensures trust but also gives a sense of secure browsing to customers, while an unsecured connection is a threat to your official business dealings.
Today, small business security is one of the economic challenges. Owners think their WordPress website is too small to become a target for web exploitation. This lack of knowledge of the risks and consequences that can be faced in the event of a WordPress hack.
And, the unfortunate reality of today’s world is that websites, big or small, are targeted daily and the majority of these attacks are automated. A bitter truth is that small businesses are increasingly becoming some of the most attractive targets for enterprising cyber thieves today and you need to know how to protect your small business in 2022.
To help small website owners mitigate the risk of being compromised by web attacks, we’ve outlined the top reasons to be concerned about small business website security, along with some security tips.
How important is website security for small businesses?
Any website that collects user’s private information should be protected, otherwise it will be very easy for an attacker to steal it. If your website is not secure, a potential hacker can deliver malware to your site to track site visitors and steal their personal information.
This information may include the customer’s name and email address, credit card, and other transaction-related information. The worst situation is that the hacker adds your website to a botnet of infected sites, or even hijacks or crashes the site.
In most cases, hackers do not breach website security by manually choosing their target. Instead, they rely on automation to identify vulnerable websites and execute their attacks.
Most websites are attacked by unsolicited bots that scrape website listings and check for a series of common WordPress security vulnerabilities that can be easily exploited.
How to secure your blog and small business websites?
1. A Secure Hosting Plan
A virtual private server (VPS) is used to host websites (showcase, e-commerce, content, media) and software applications (portals, Extranet, collaborative solutions, wikis, CRM).
2. The SSL certificate
The second step concerns the information relating to your accommodation. Is your website SSL verified?
Obtaining an SSL certificate for your website means that you will add a set of data files to your server to obtain an encrypted connection between a browser and your server. Once installed, a green padlock will be displayed, indicating that the site is secure when the user visits it.
There are basically two options related to SSL certificates for website owners:
Self-signed SSL:
Obtaining a self-signed SSL certificate requires a dedicated IP, which means it does not work with shared hosting. They also charge an annual fee when you purchase one. So you need to look for the best available options based on your budget.
Let’sEncrypt – free ssl-tls certificate:
A new way to buy an SSL certificate that is free and automated. It is an open certificate authority officially launched in April 2016 with the aim of creating a secure web. You can easily buy it and install it on your server. The only downside is that it has to be renewed every 90 days. If you ever skipped this step, your site will be subject to web threats. We recommend that you set up a CRON job in order to renew it automatically after a period of 3 months.
3.HTTPS
The next step is to identify the platform your site is built on. If you are using WordPress or any other CMS then you need to look for a specific WordPress plugin that will handle the HTTPS redirect for you. Basically, you need to set up a redirect from http://www.yourdomain.com to https://www.yourdomain.com.
HTTPS i.e. Secure HyperText Transfer Protocol is an extension of HTTP that establishes a secure connection between a browser and a web server as it provides an extra layer of security by using SSL to move data. This protects your website users from man-in-the-middle attacks, where someone steals sensitive information sent to a website, such as credit card information or login credentials.
As HTTPS has become easier to implement, secure connections are becoming the norm for all websites.
If your site is developed in HTML, that is to say with HTML pages and images, you must redirect all non-secure files in your .htaccess files to their secure versions.
But, if you’re not sure you can migrate to a secure network, find a professional who can do it for you. We would be happy to take a look at your website and give you advice, or even take care of the transition for you.
4. Change URL for HTTPS version
The next step is that you need to go to your Google Analytics account and change the default URL to the HTTPS version.
5. Submission of sitemaps
Then go to your Bing and Google Webmaster tools and resubmit your sitemaps because now you need to let them know that your URLs are all HTTPS! This ends up speeding up the process of telling Google about your secure connections.
6. Verification of all pages of the website
Once all of the above is done, you need to take a hard look at your website. Click on all pages and make sure the green padlock with the SECURE icon appears on all your pages.
That’s it, now you have all the steps that allow you to have better security protection for your blog or your website. Good luck !

